
Making of a Marucci Custom Glove 7: Lacing
Oct 13th 2017
This installment is part 7 of 8 explaining each step of the Marucci Custom glove making process. Learning more about each step of our process gives players a deeper insight into all of the work that makes Marucci gloves some of the best in the game. Build your own Custom Glove today!
The process of creating a Marucci Custom Glove is broken down into eight steps:
1. Leather Selection & Cutting
2. Stamping
3. Embroidery
5. Turnover/Iron and Molding/Insert Lining
7. Lacing
8. Forming/Break-In
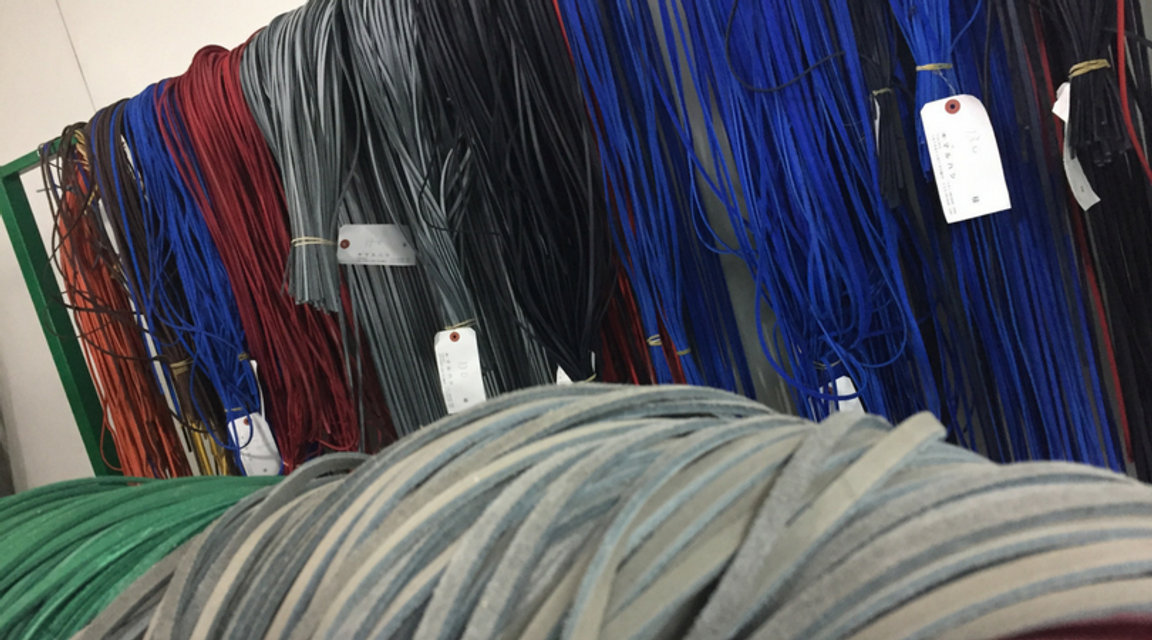
LACING
The lacing stage may seem self-explanatory but understanding how labor intensive the process is important as each web requires a different lacing method.
Most all gloves have universal lacing locations- along the lower binding at the hand opening, through the outer thumb and pinky and across the top of the fingers and palm, but it is the unique webs that the lacing worker needs to be an expert and remember all the different locations to lace.
As with each stage of the process, lacing is done by hand.
PREVIOUS: Second Sewing/Binding NEXT: Forming/Break-In