
Making of a Marucci Custom Glove 5: Turnover/Molding/Lining Insert
Sep 27th 2017
This installment is part 5 of 8 explaining each step of the Marucci Custom glove making process. Learning more about each step of our process gives players a deeper insight into all of the work that makes Marucci gloves some of the best in the game. Over the next few weeks, we’ll post a closer look into each individual step leading up to our Custom Glove launch in early October.
The process of creating a Marucci Custom glove is broken down into eight steps:
1. Leather Selection & Cutting
2. Stamping
3. Embroidery
5. Turnover/Iron and Molding/Insert Lining
6. Second Sewing/Binding
7. Lacing
8. Forming/Break-In
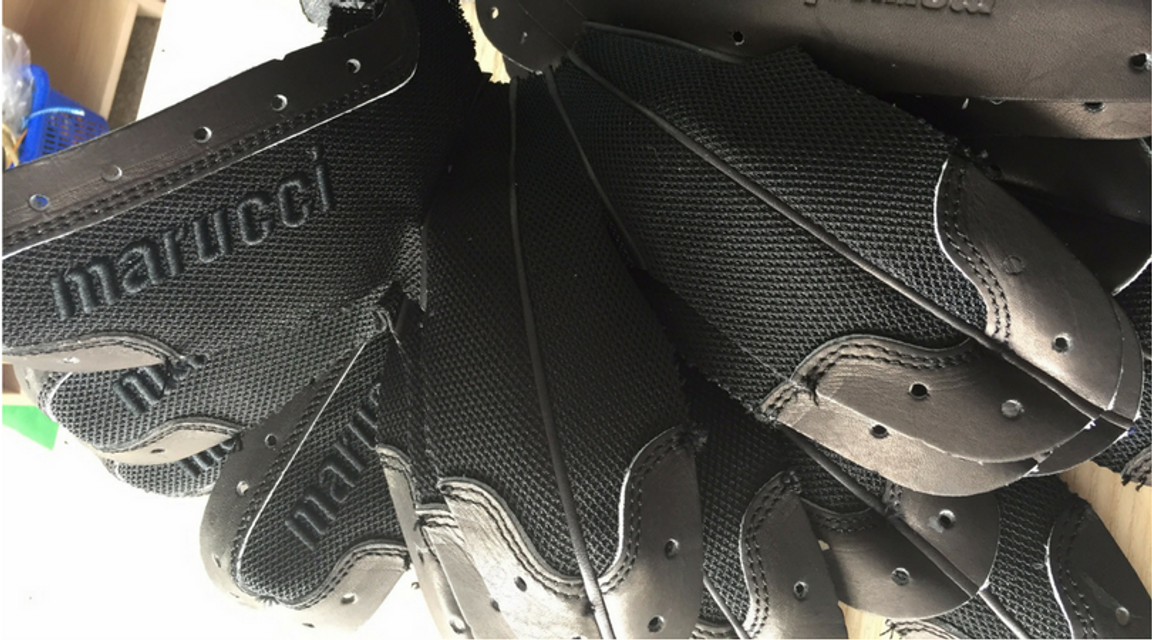
TURNOVER/IRON AND MOLDING/INSERT LINING
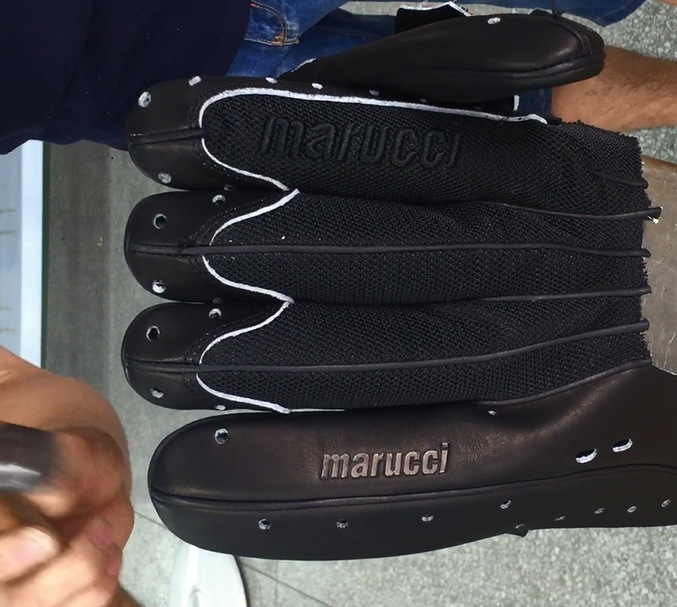
After the cut pieces are sewn together to form the glove shell, the glove must be “turned over”. It is first sewn inside out which hides sewing lines and any irregularities and is nicely covered up by the finger welting which is essentially a seam line.
Once carefully turned over, the shell of the glove is stretched and molded over a heated metal hand form which is referred to as ironing. Wrinkles are smoothed out at this stage and the leather is stretched evenly so the fingers are consistent in length and width.
This is a slow and careful process as the shell of the glove must allow for the lining of the glove to be inserted and have a smooth fit and feel.
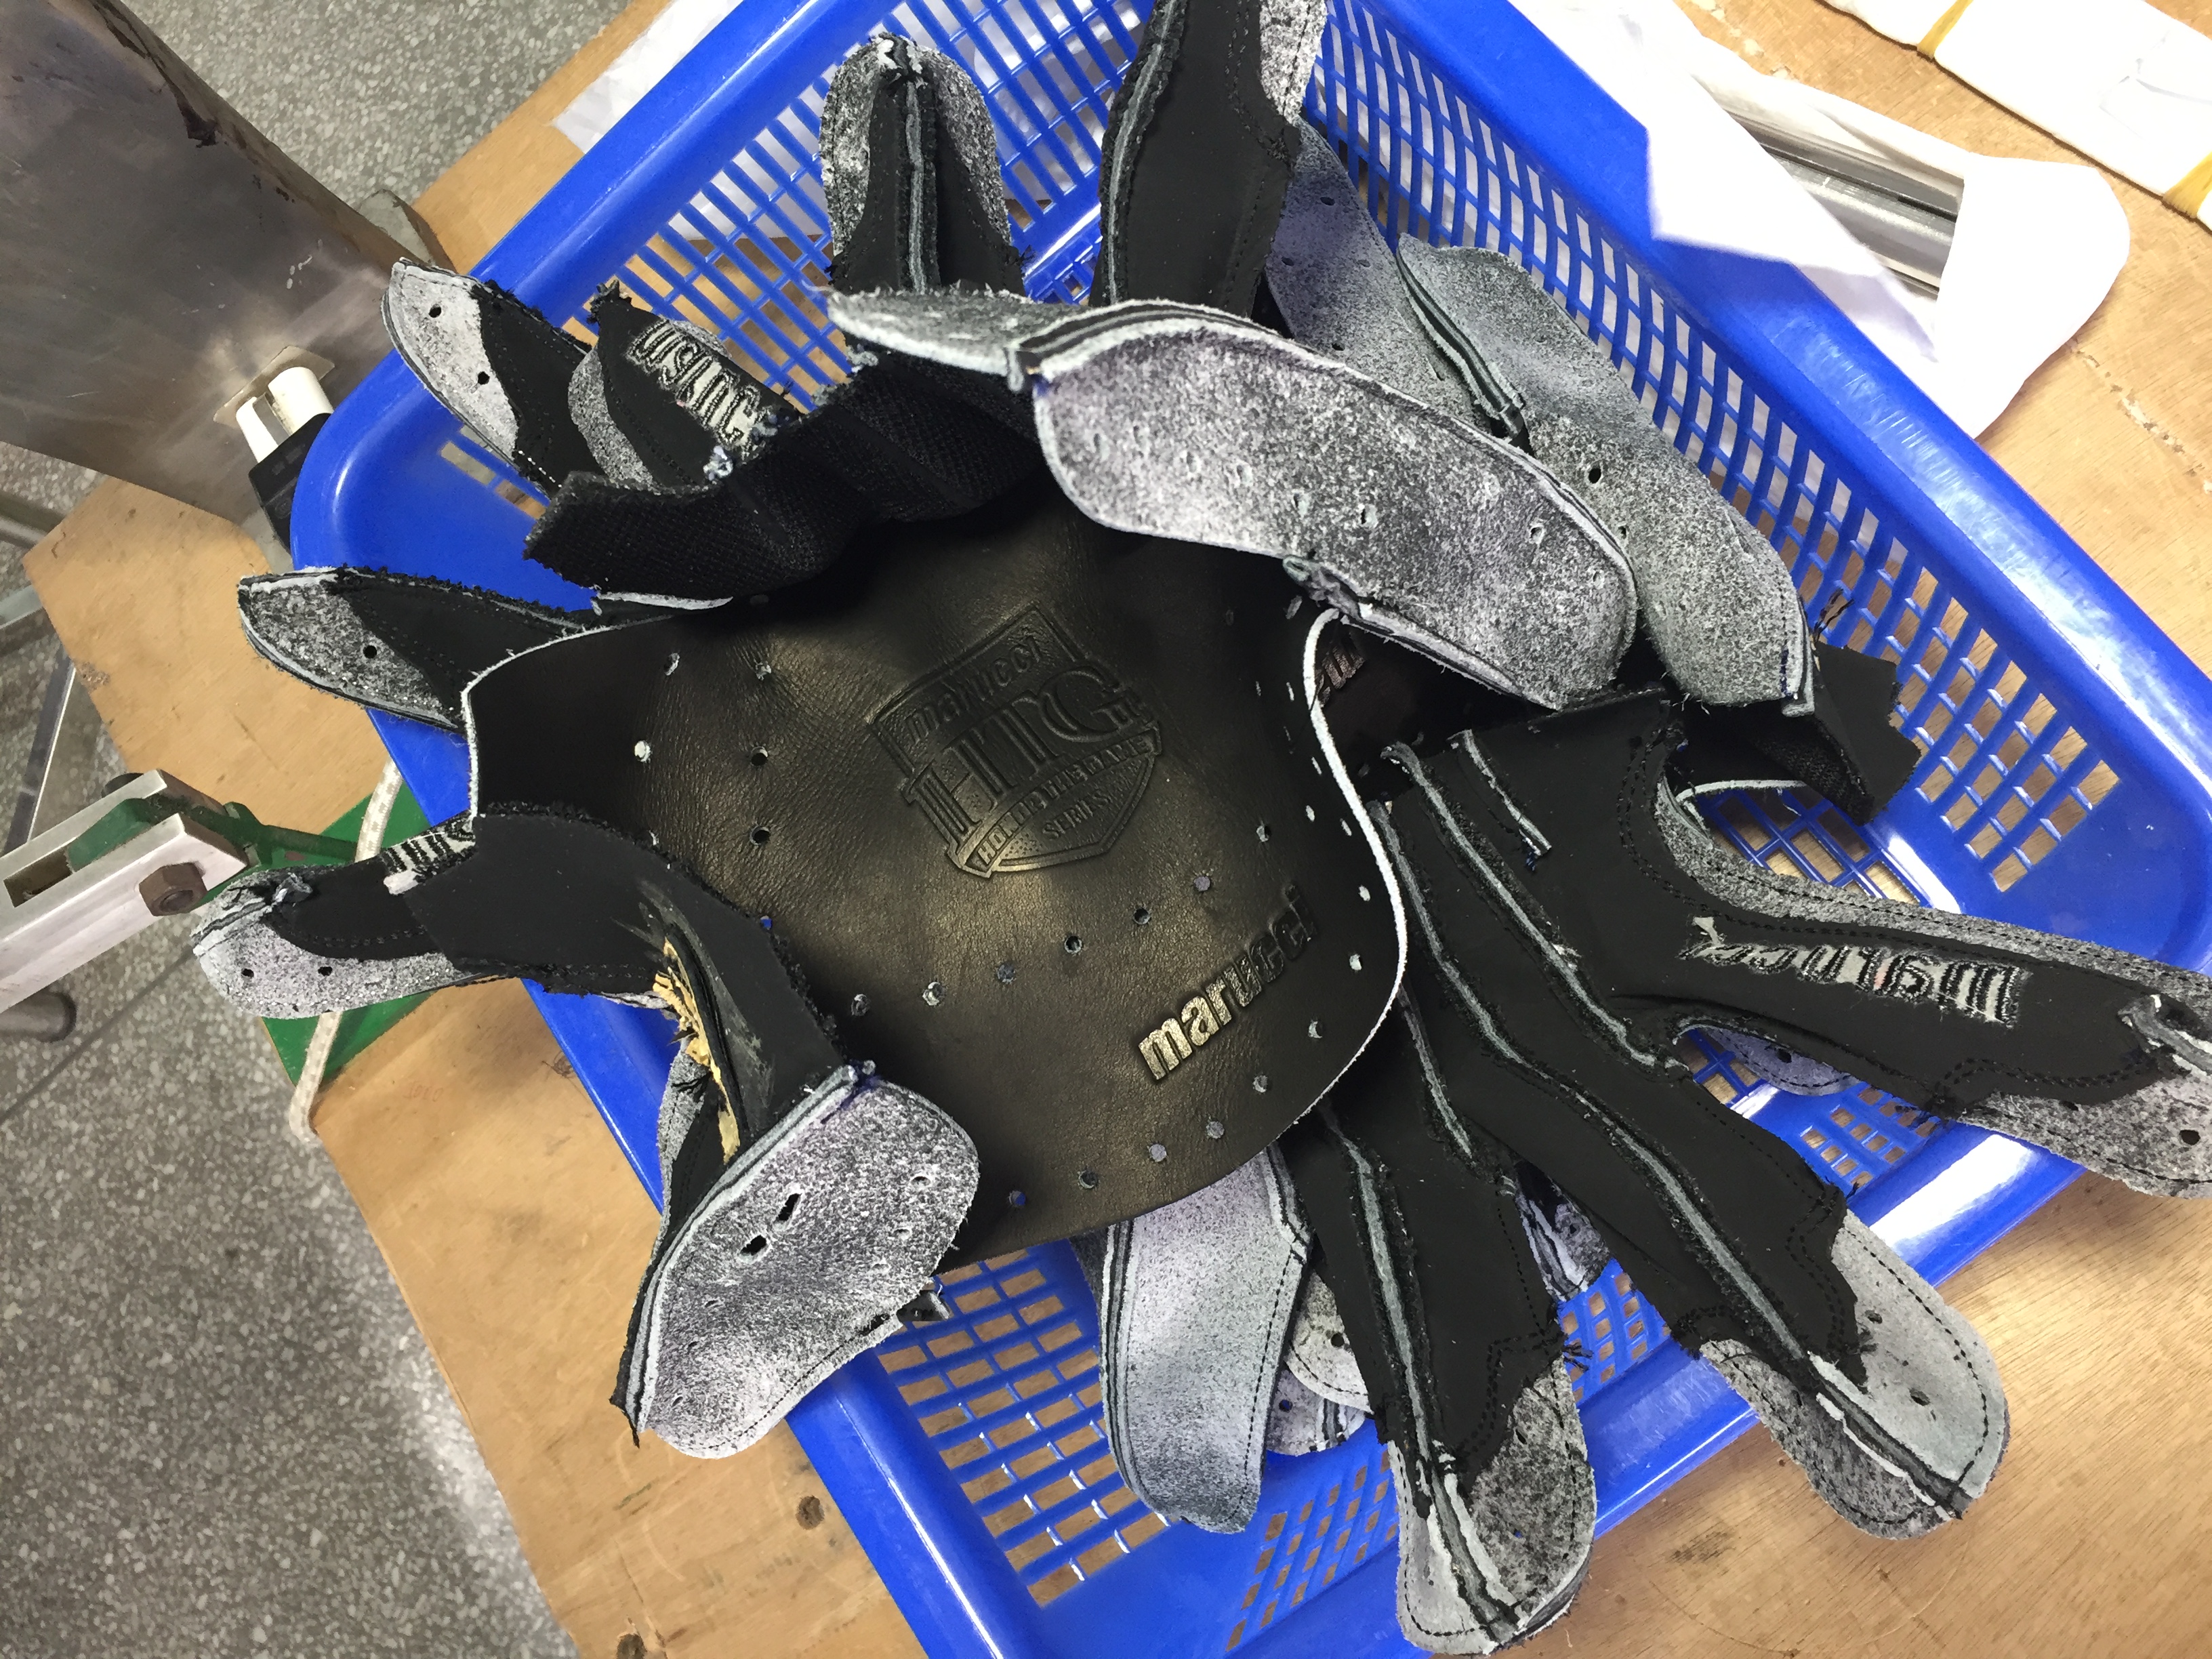
The glove “lining” consists of the area that touches your palm as you put your hand inside the glove as well as the back of finger material which can either be soft leather or soft, moisture management fabric.
PREVIOUS: First Sewing/Assembly NEXT: Second Sewing/Binding