
Making of a Marucci Custom Glove 4: First Sewing/Assembly
Sep 25th 2017
This installment is part 4 of 8 explaining each step of the Marucci Custom glove making process. Learning more about each step of our process gives players a deeper insight into all of the work that makes Marucci gloves some of the best in the game. Over the next few weeks, we’ll post a closer look into each individual step leading up to our Custom Glove launch in early October.
The process of creating a Marucci Custom glove is broken down into eight steps:
1. Leather Selection & Cutting
2. Stamping
3. Embroidery
4. First sewing/Assembly
5. Turnover/Ironand Molding/Insert Lining
6. Second Sewing/Binding
7. Lacing
8. Forming/Break-In
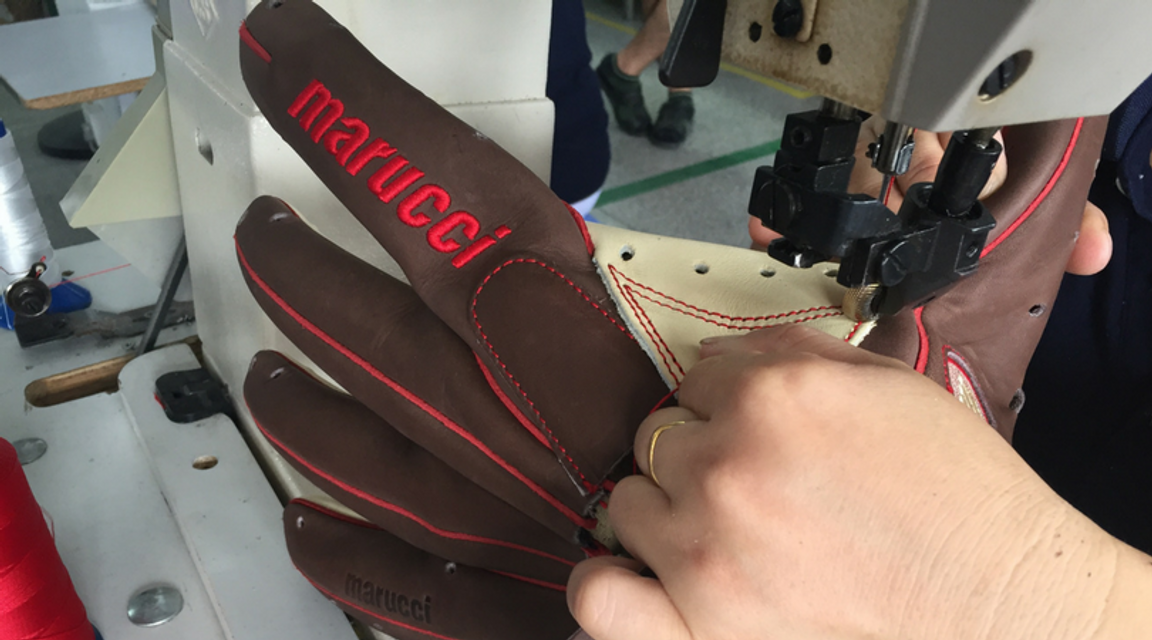
FIRST SEWING/ASSEMBLY
After all patches and embroidery are completed on the glove, it’s time to bring it to life by sewing the individual sections together into one piece.
The critical step of taking the different glove sections and methodically sewing together to include the finger welting happens during the “first sewing” stage. Skilled sewers with years of experience meticulously work the glove over the different sections, which begins to turn the glove into a recognizable structure and give it life. The palm comes together to meet the back of the glove to form the all-important shell where the lining will eventually be inserted.
This is a complex and tedious step where the glove really starts to come to life.
Directly following this stage, the glove is turned over as it is sewn together inside out. It is then partially formed and molded by hand as well as by heated iron. Here it is inspected carefully and if passes all testing requirements, the lining is inserted into the glove shell and is sewn to the glove by adding the binding.
PREVIOUS: Embroidery NEXT: Turnover/Iron & Molding/Insert Lining