
Making of a Marucci Custom Glove 3: Embroidery
Sep 21st 2017
This installment is part 3 of 8 explaining each step of the Marucci Custom glove making process. Learning more about each step of our process gives players a deeper insight into all of the work that makes Marucci gloves some of the best in the game. Over the next few weeks, we’ll post a closer look into each individual step leading up to our Custom Glove launch in early October.
The process of creating a Marucci Custom glove is broken down into eight steps:
1. Leather Selection & Cutting
2. Stamping
3. Embroidery
4. First sewing/Assembly
5. Turnover/Ironand Molding/Insert Lining
6. Second Sewing/Binding
7. Lacing
8. Forming/Break-In
EMBROIDERY
Following the palm stamping process, the glove is now ready to be embroidered with patches, logo, and player name.
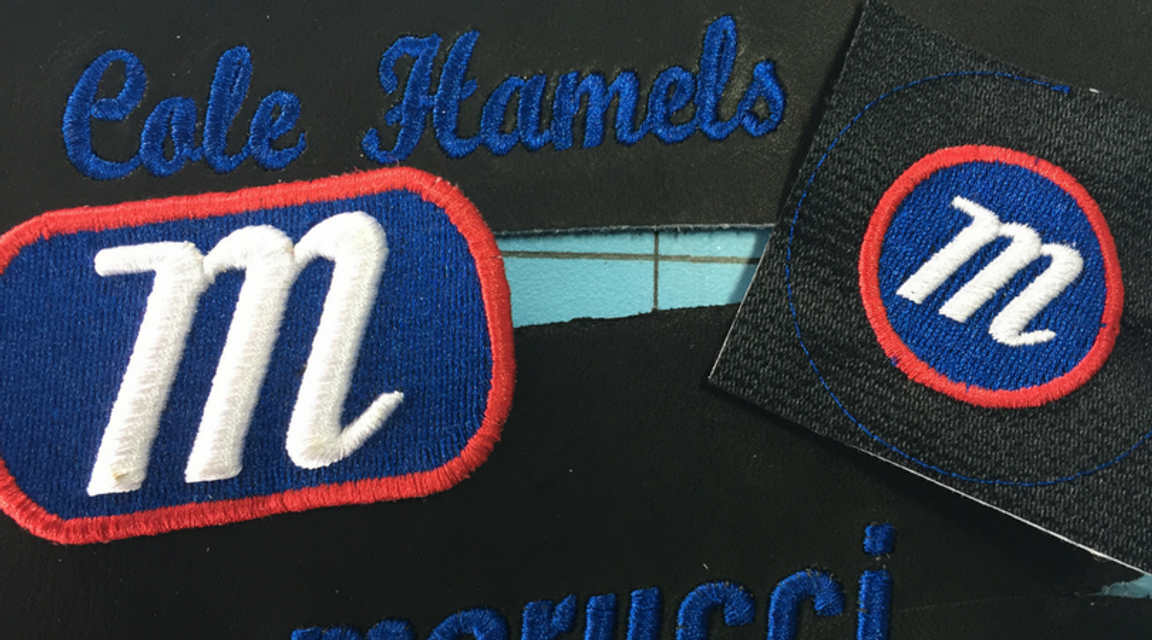
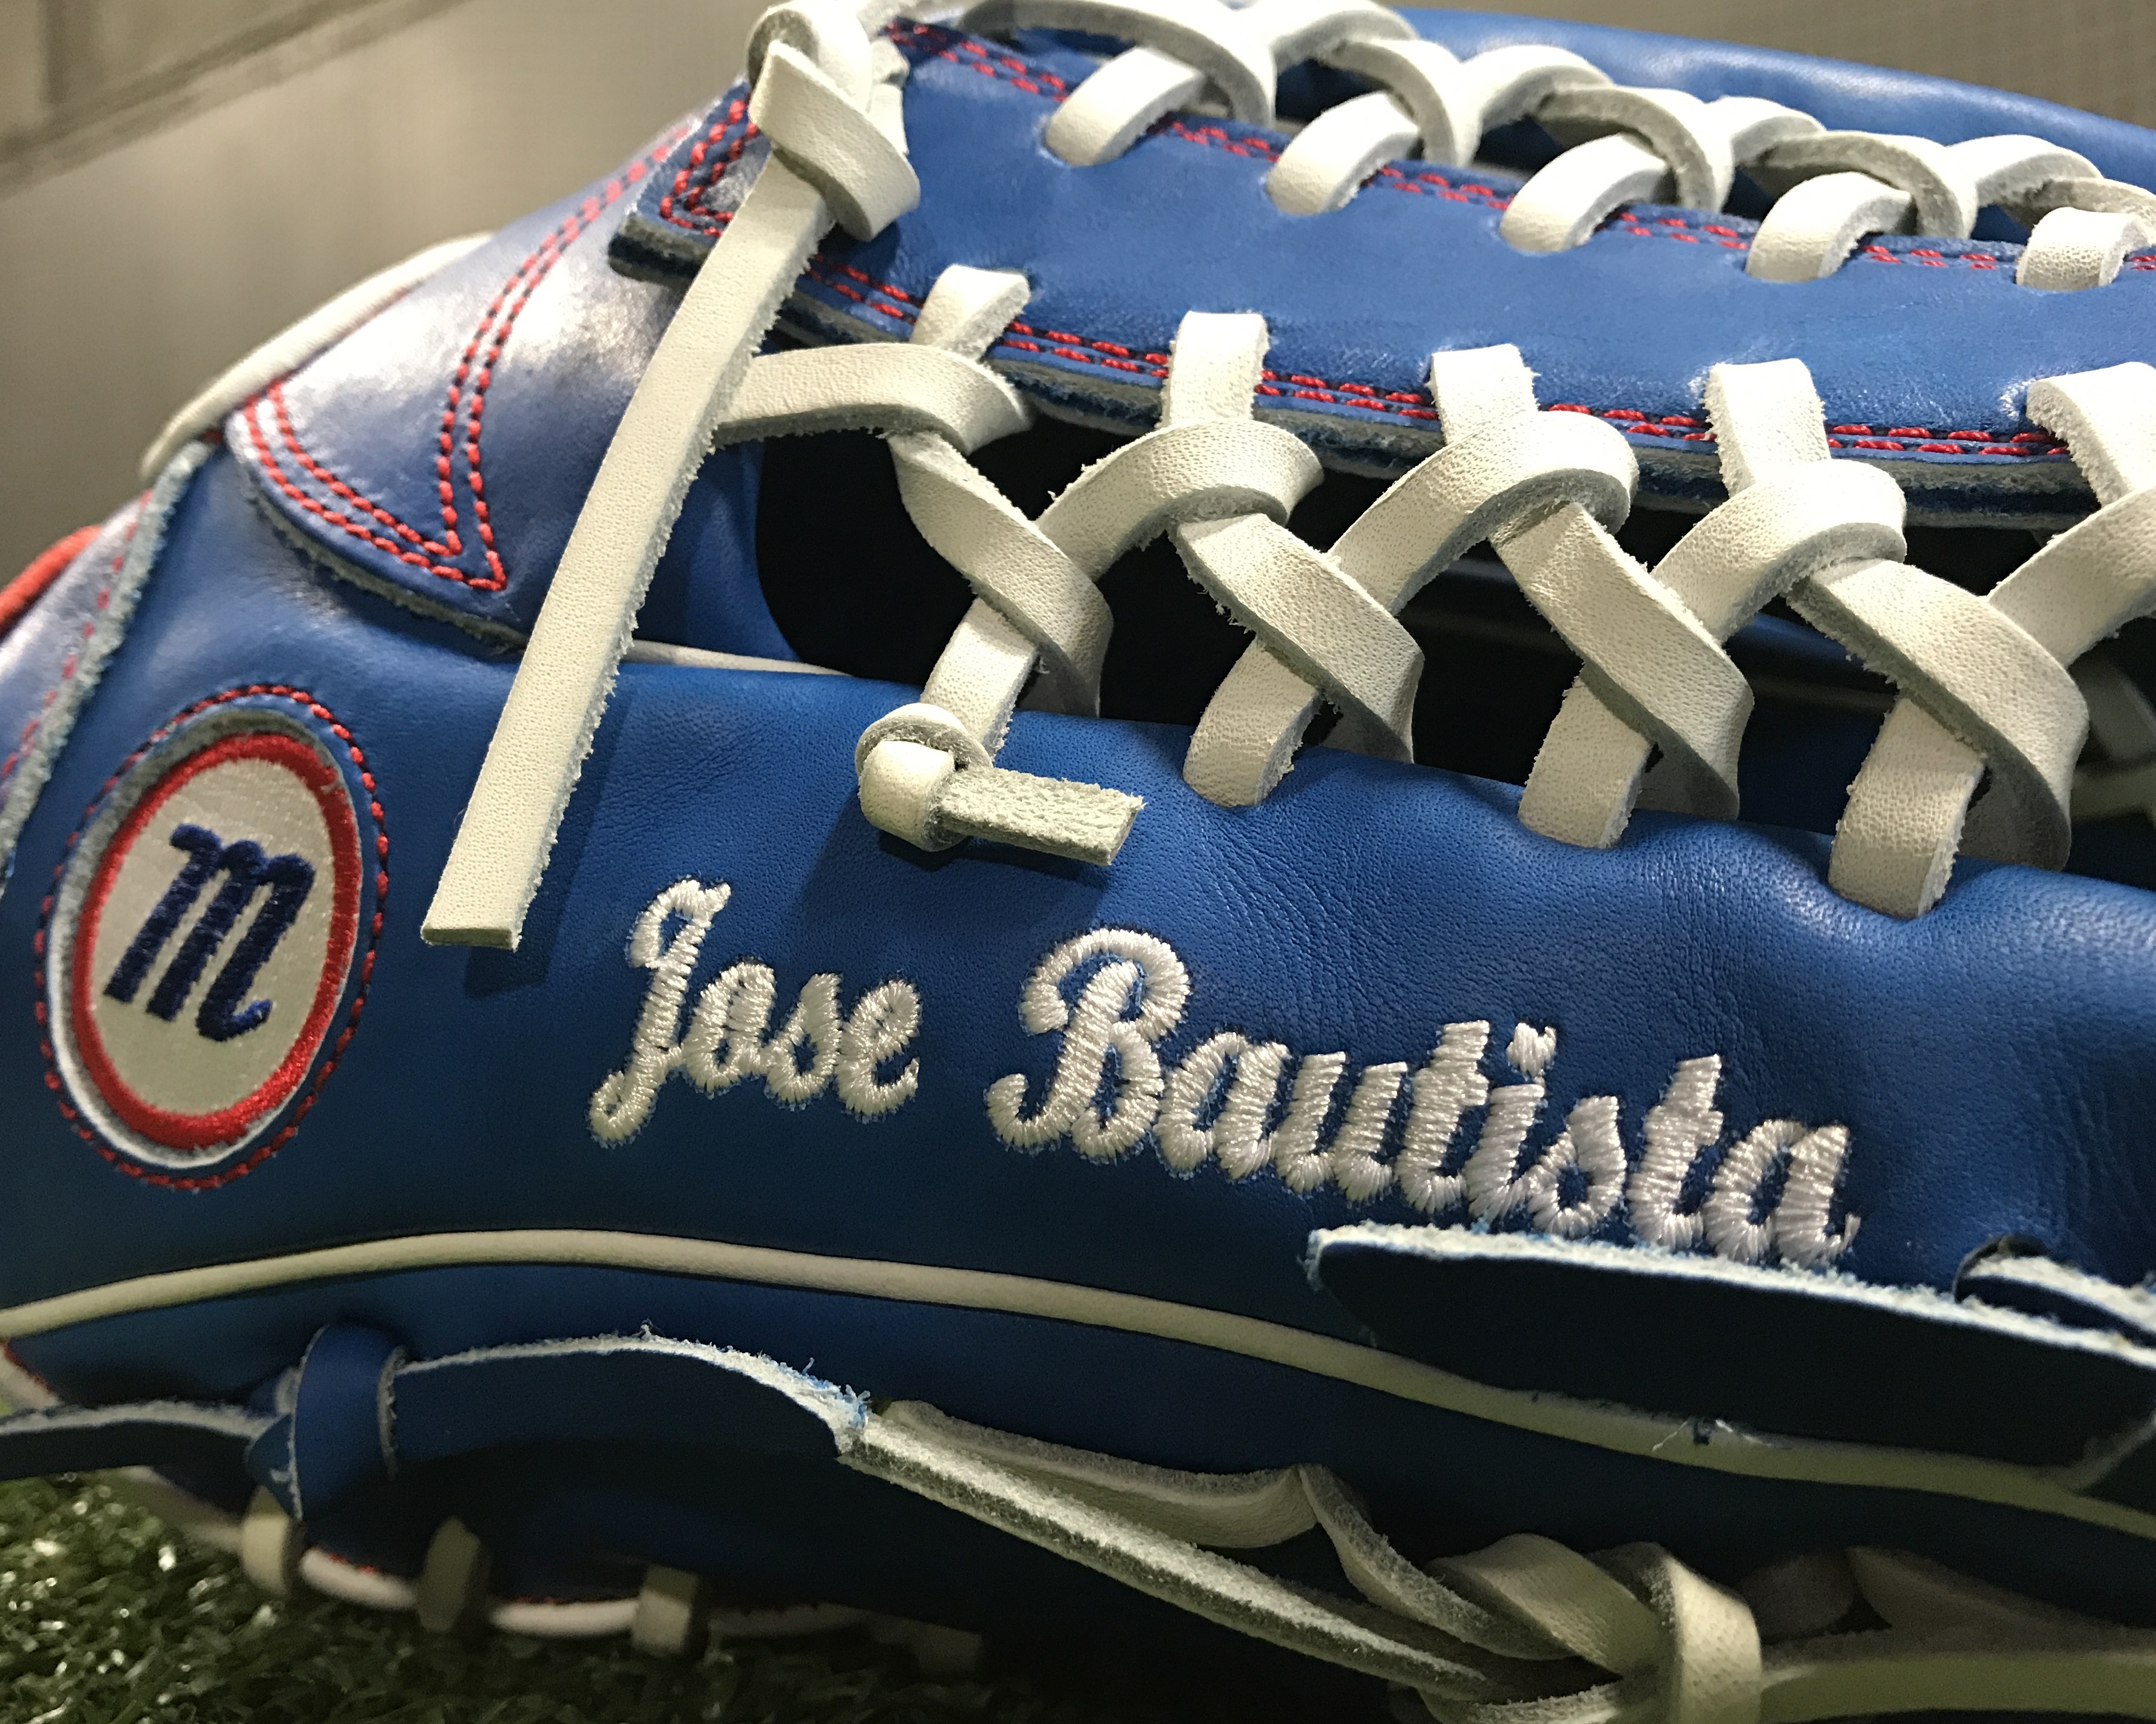
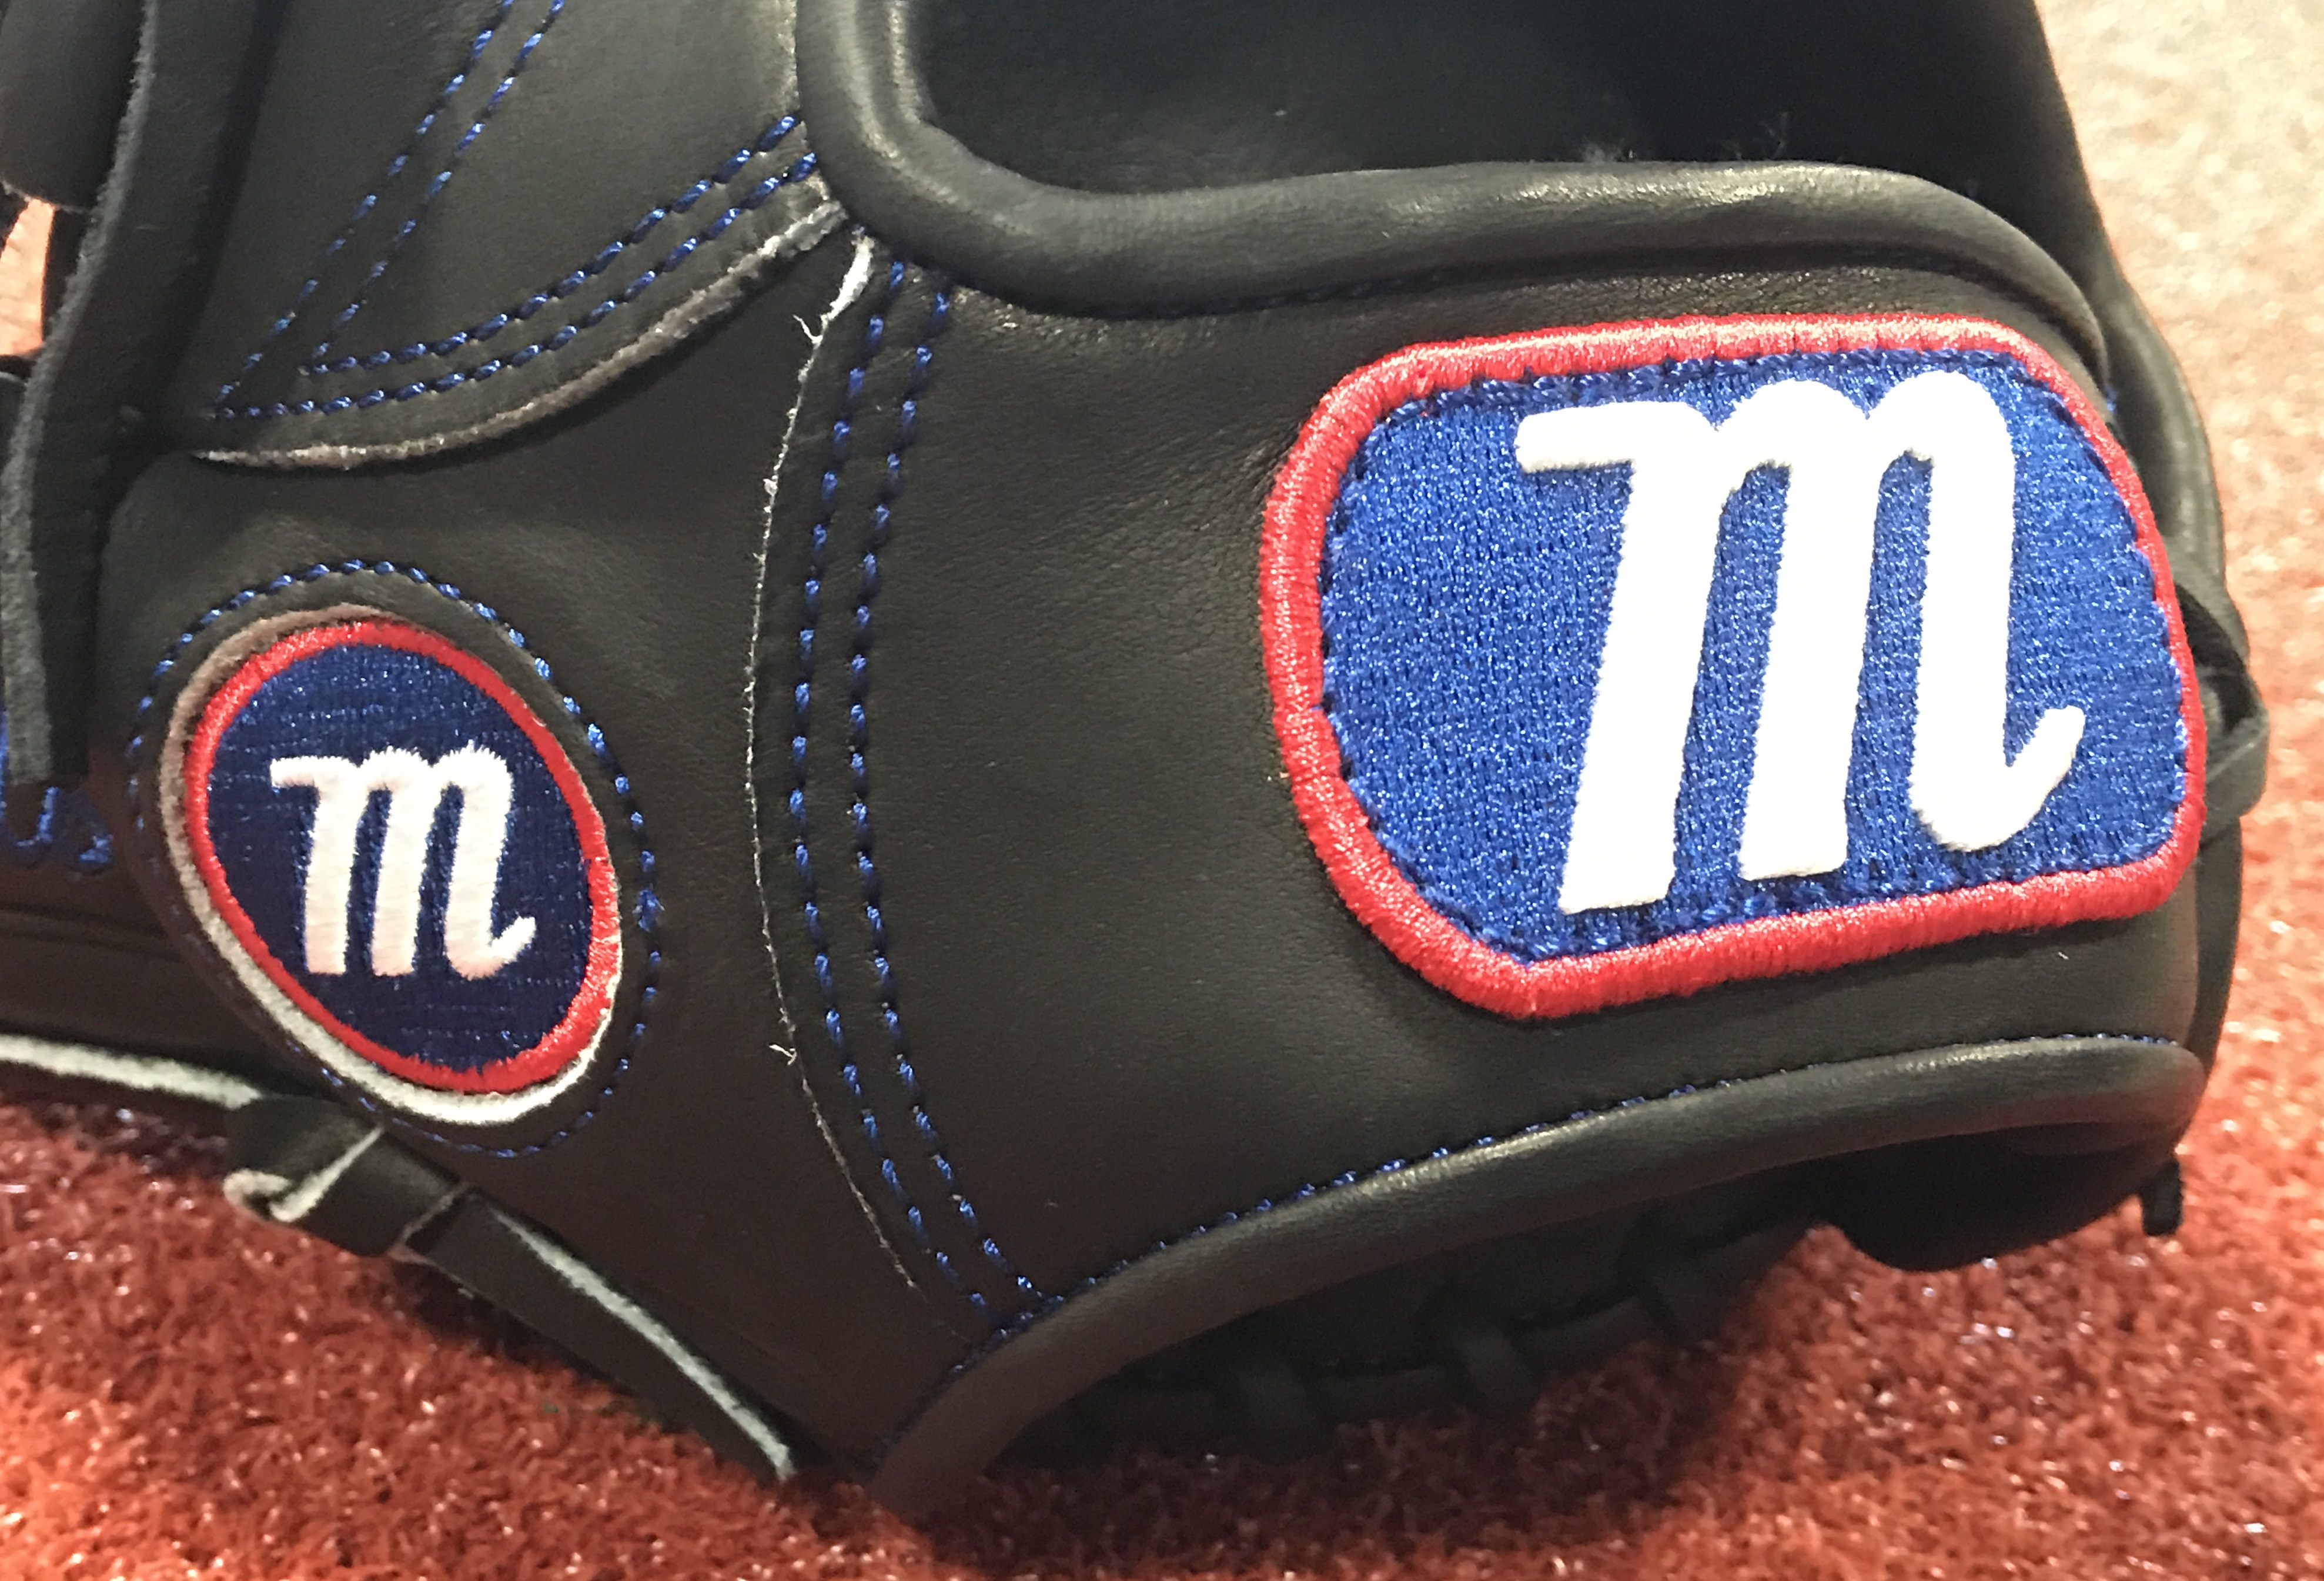
During the customization process at maruccisports.com, all users will be able to select the colors of the “M” patch on the back of the wrist closure. The “M” itself, the patch background, and the patch border can be individually customized by color. The color selection of this patch will also be applied to the circle “M” indent on the outer thumb. The patch and circle indent are made separately but sewn to the glove at this stage.
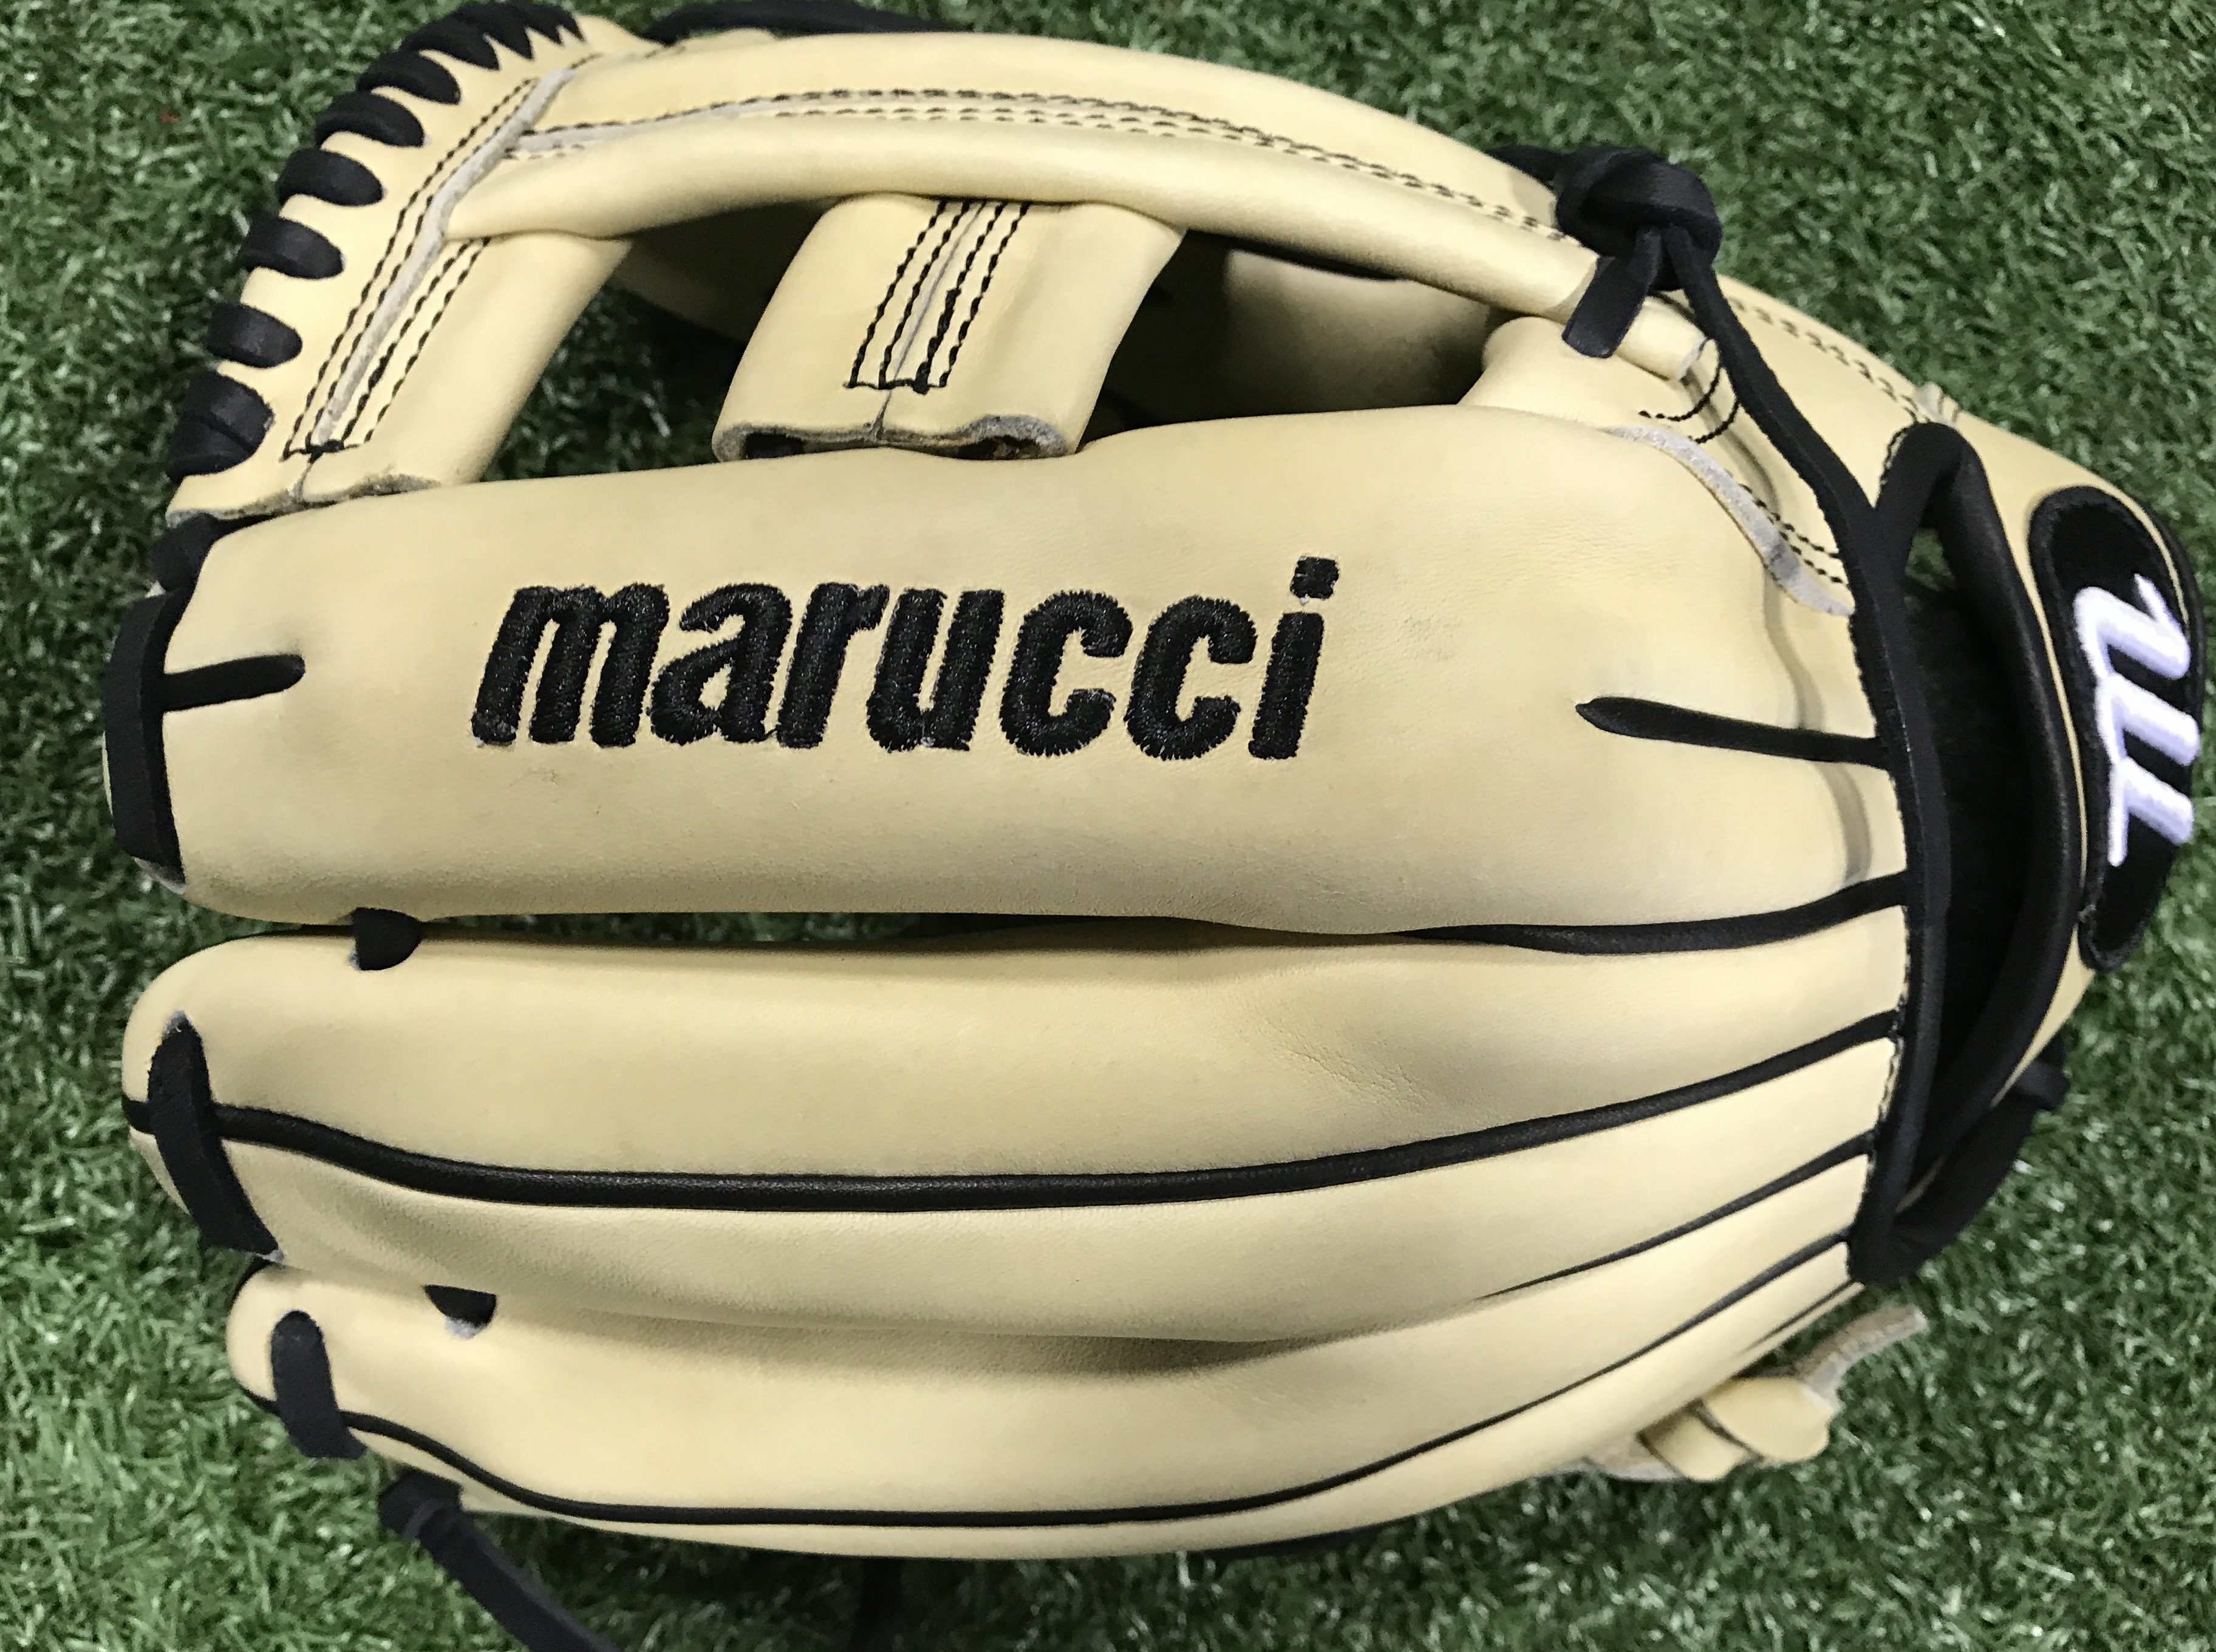
Also embroidered at this stage is the “Marucci” wordmark logo on the upper index finger. Embroidery color is customizable and selected during the online customization process by the user.
Finally, the player’s name is embroidered on the outer thumb of the glove. Players can choose between script or block fonts as well as the embroidery color.
Once the patches are sewn and the embroidery is complete the glove is ready for the initial sewing that will include the finger welting.
PREVIOUS: Stamping NEXT: First Sewing/Assembly