
Making of a Marucci Custom Glove 1: Leather Selection & Cutting
Sep 15th 2017
After several years of research, testing and feedback, Marucci is eager to release custom gloves to the public for the first time. Thousands of hours of work went into developing our process, sourcing and preparing materials and formatting our software to be able to deliver not only a top of the line product, but also an outstanding experience.
Because we take so much pride in our process and craftsmanship we wanted to provide customers with a behind-the-scenes look at what goes into producing gloves made just for you. We know waiting several weeks after placing your order isn’t ideal, but be assured it’s all necessary to ensure your Marucci Custom glove is not only exactly what you specified, but also matches the on-field quality, fit and performance standards set forth by our Player Advisory Board of Big Leaguers.
Learning more about each step of our process gives players a deeper insight into all of the work that makes Marucci gloves some of the best in the game. Over the next few weeks, we’ll post a closer look into each individual step leading up to our Custom Glove launch in early October.
The process of creating a Marucci Custom glove is broken down into eight steps:
1. Leather Selection & Cutting
2. Stamping
3. Embroidery
4. First sewing/Assembly
5. Turnover/Iron and Molding/Insert Lining
6. Second Sewing/Binding
7. Lacing
8. Forming/Break-In
LEATHER SELECTION & CUTTING
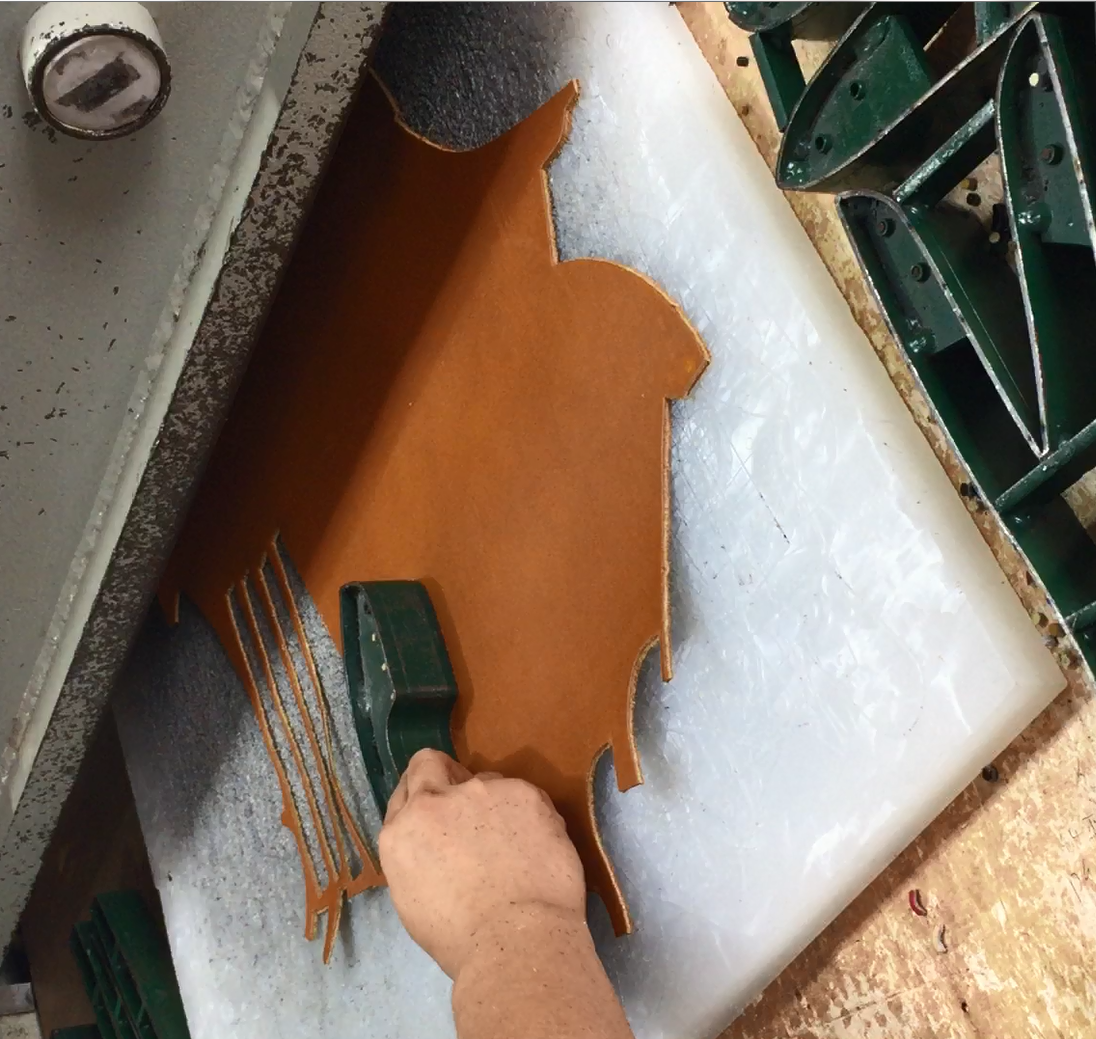
Each glove begins with the selection of materials and cutting out the individual pieces that will later be assembled and sewn together.
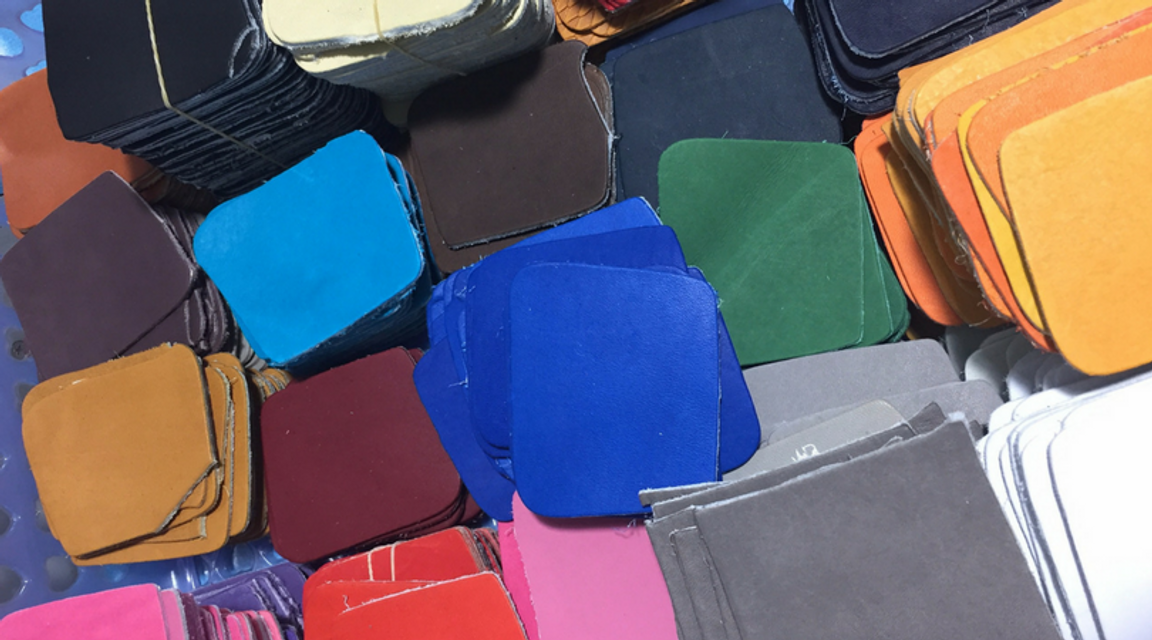
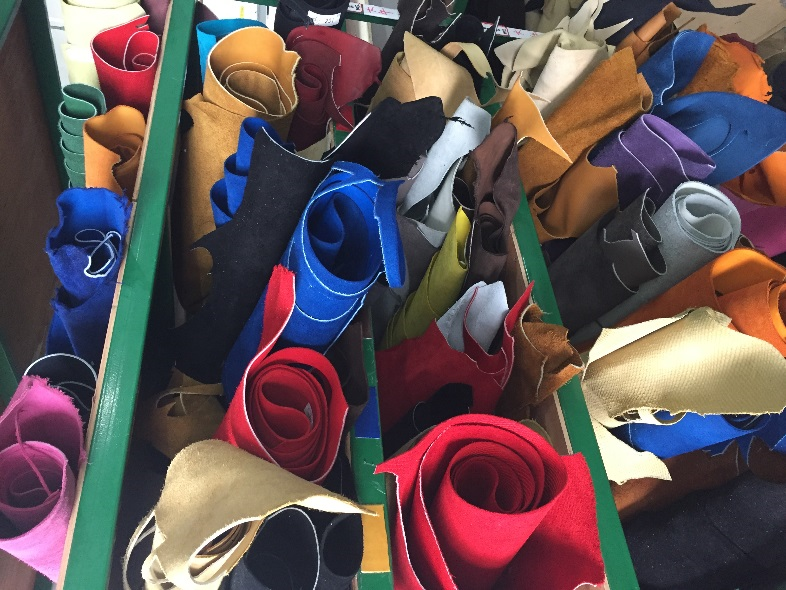
Depending on whether you’ve selected a Founders’ Series, HTG Series, Softball Series, or RS225 Series glove, the selected shell leather will be either Japanese Kip, Grade A U.S. Steerhide, or Game-Ready Tumbled Cowhide.
The leather selection is a critical first step in the process and part of the secret to a glove becoming special. Trained technicians find the best location on the hide to add the die cut molds, as different parts of the hide are better for the certain parts of the glove. The shell palm and back areas are most important in this selection process so are very carefully arranged.
Attention to detail is mandatory in every step of the Marucci process, so the strength and thickness is carefully inspected as well as checked for cuts or blemishes, which can not only affect the glove’s appearance but also durability and performance.
The cut sections are then grouped together and passed onto the stamping and embroidery steps.
NEXT: STAMPING