
Making of a Marucci Custom Glove 8: Forming/Break-In
Oct 16th 2017
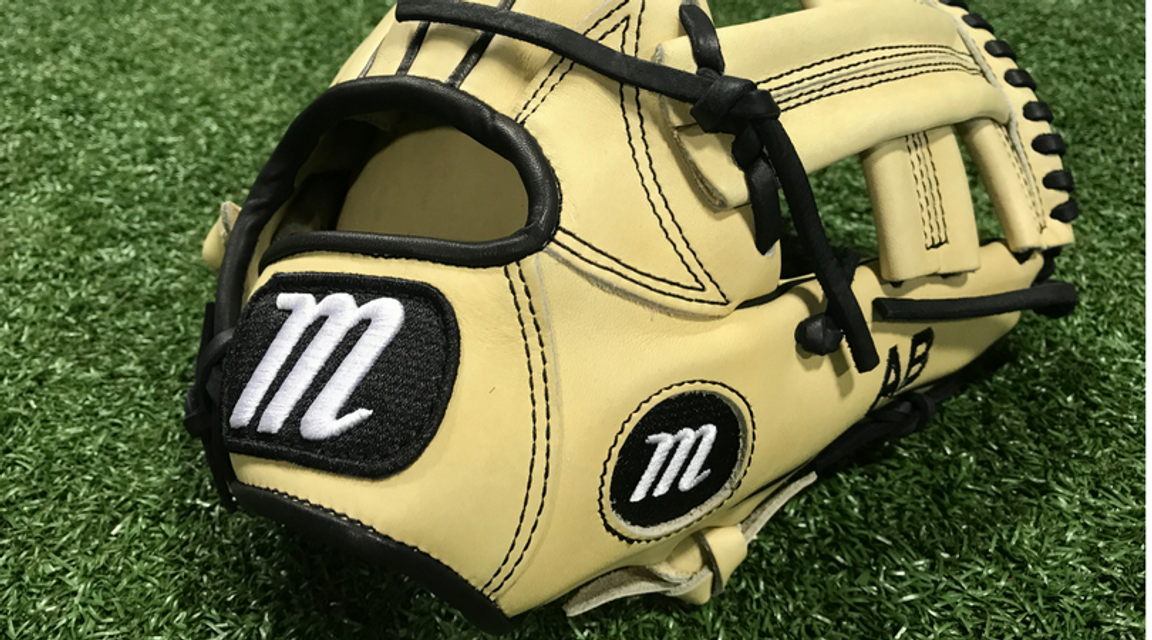
This installment is part 8 of 8 explaining each step of the Marucci Custom glove making process. Learning more about each step of our process gives players a deeper insight into all of the work that makes Marucci gloves some of the best in the game. Build your own Custom Glove today!
The process of creating a Marucci Custom Glove is broken down into eight steps:
1. Leather Selection & Cutting
2. Stamping
3. Embroidery
5. Turnover/Iron and Molding/Insert Lining
7. Lacing
8. Forming/Break-In
Forming/Break-In
The final stage in the Marucci glove process is forming and breaking in. After everything is laced, sewn, and put together the shape of the glove makes it so it would not be usable. It is also extremely stiff to the point you could not squeeze hard enough to close it.
Depending on the professional player, glove series, and ability level, there is pre-determined break-in process.
Heavy wooden mallets are used to mold the shape of the pocket while quality control managers use their extensive knowledge how each glove should feel to form and bend by hand.
This break-in period softens the hard leather and helps make the lining further fit into place inside the glove shell.
While they are molding and shaping the glove, an extensive quality control process is being performed. Throughout the process, excess oil, threads, and leather debris can appear on the glove, including stains.
Stains are more visible on lighter leathers like white, gray, and camel but can be cleaned. These imperfections need to be watched for carefully to fix.
This stage is really a two-part process – break-in as well as quality inspection.
PREVIOUS: Lacing